
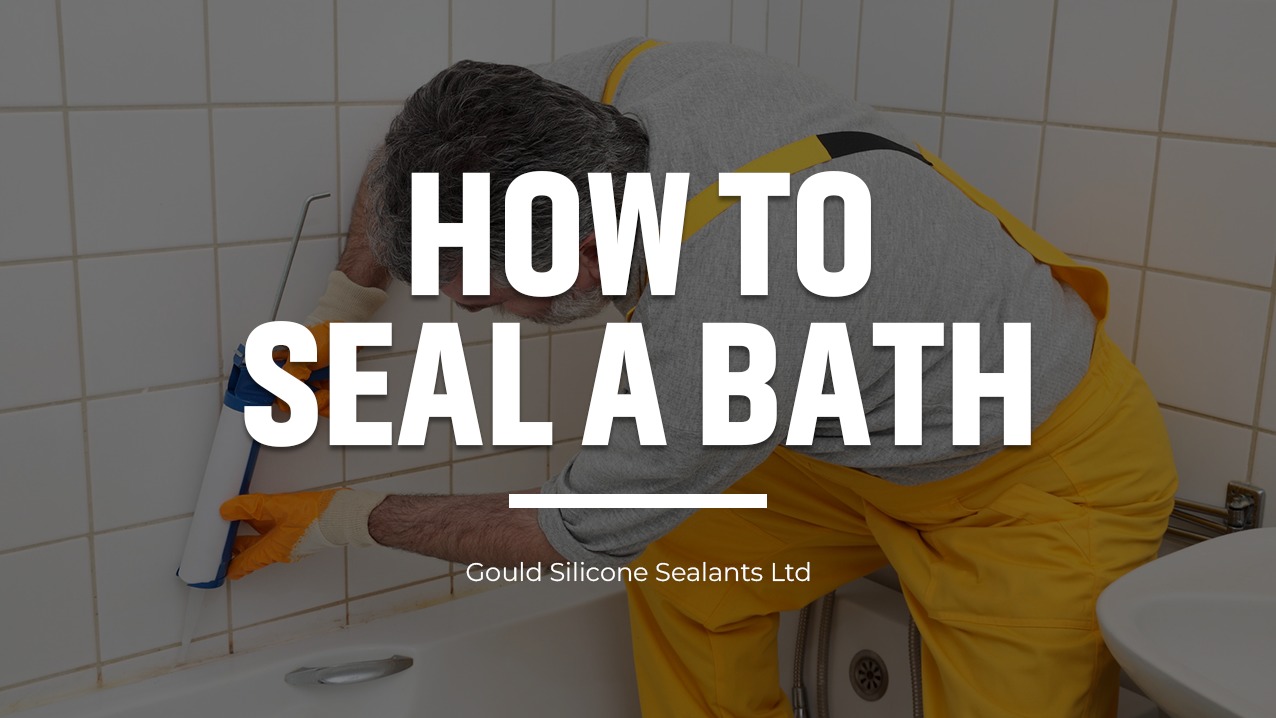
How to Seal a Bath?
Posted on 4th April 2024 at 04:38
When it comes to bathroom maintenance and ensuring the longevity of your fixtures, sealing your bath is a pivotal task. Not only does this prevent water damage and mould growth, but it also keeps your bathroom looking fresh and clean.
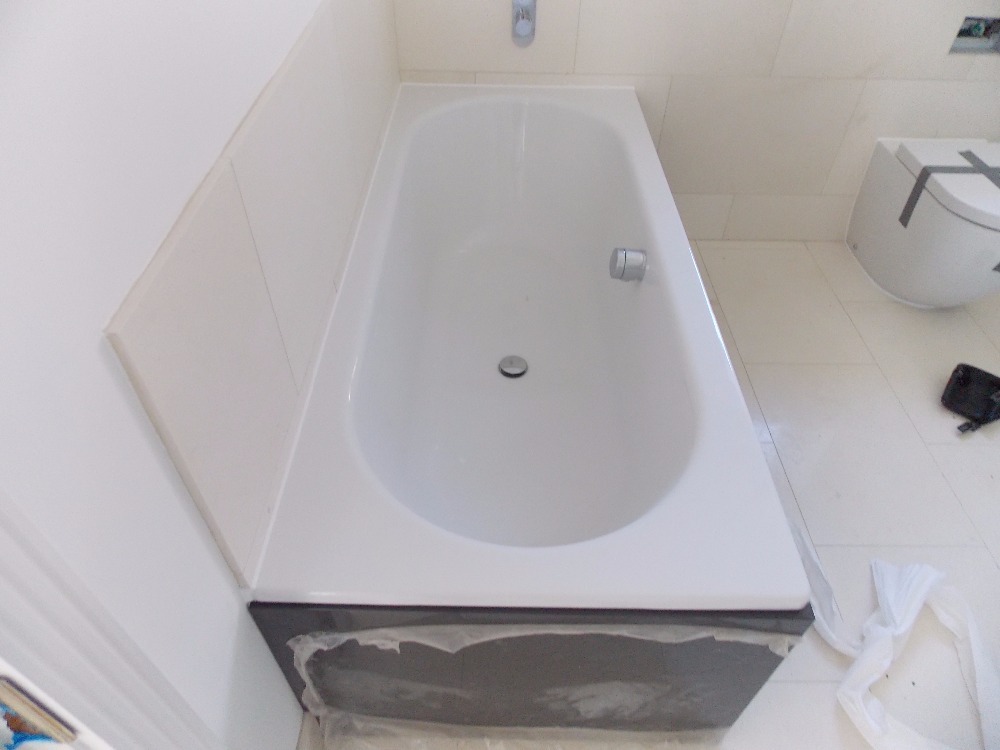
Bath sealant can be the difference between a stunning bathtub and a disappointing one. When fresh, it glows with a glossy and gratifying finish. However, when deteriorating, it becomes unattractive, worn-out, and plagued with mould. Whether you're looking to refresh the ageing sealant in your bath or upgrading to a new bathroom suite, we'll tell you how to do it.
In this comprehensive guide, we’ll walk you through the step-by-step process of sealing a bath, ensuring you’re equipped with the knowledge to do it like a pro.
The importance of sealing a bath with bathroom sealant
Sealing around a bath is not just a matter of aesthetics; it's a crucial preventative measure against a slew of potential issues. Without a proper seal, water can seep into the edges around your bath, leading to damage that can be costly and time-consuming to repair.
If water seeps down the side and beneath the tub, it may accumulate on the floor, causing flooding, rot, and eventually black mould growth, compromising the air quality and cleanliness of your bathroom.
By applying bathroom sealant, you're not just preserving the look of your bath; you're safeguarding the health of your home and your family.
Another compelling reason for sealing or resealing a bathtub is simply to bring it back to life. Mouldy sealant isn't appealing to anyone and a mould remover will only get you so far. When your silicone is past its best, a refresh is a quick, easy and cheap way to rejuvenate your bathroom.
Tools you'll need to seal a bath
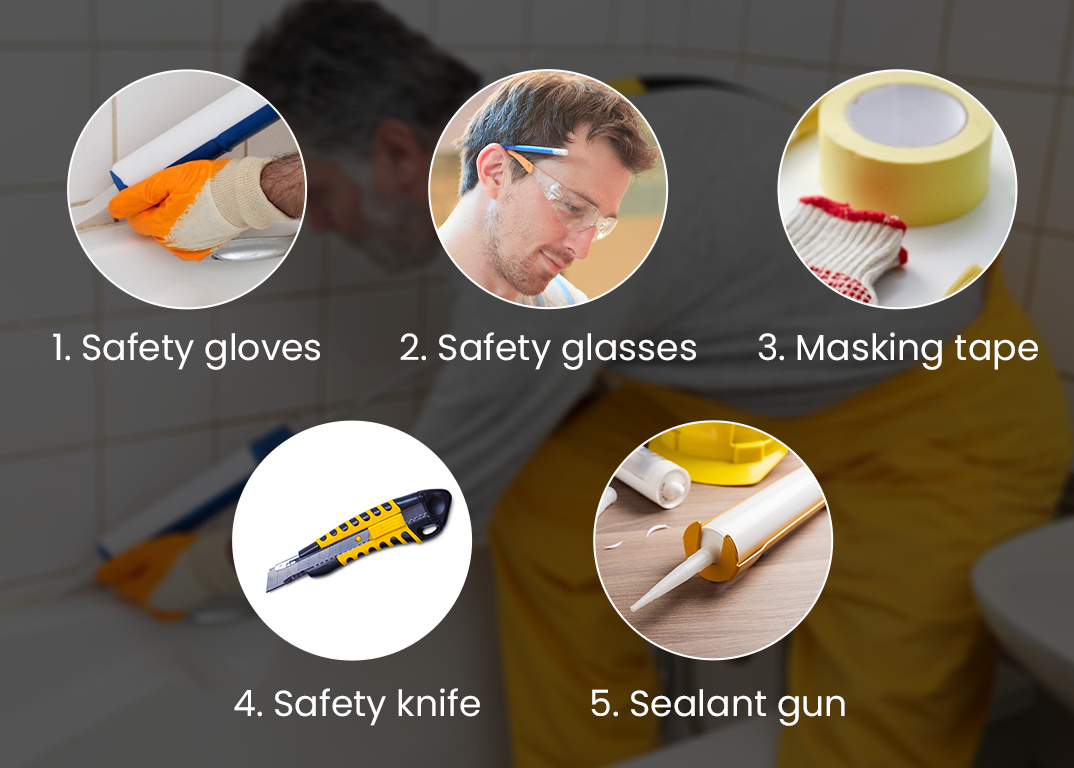
Before you begin the sealing process, it’s important to have all the necessary materials at hand:
Safety gloves
Safety glasses
Masking tape
A safety knife
A sealant gun
Silicone sealant
Sealant applicator
Having these items ready will streamline the process of sealing your bath properly, making it efficient and hassle-free.
How to seal a bath: a step-by-step guide
Step 1 - Fill the Bath with Water
The very first step in applying sealant is to fill your bath with water - so roll up your trousers!. This step is crucial as it simulates the additional weight when in use, causing the bath to slightly lower. If you seal an empty bath, you run the risk of the sealant cracking under pressure later on.
Step 1.5 - Remove existing sealant (skip if new installation)
Removing old sealant is a vital first step in re-sealing any bath. To remove bath sealant, begin by cutting through the old silicone with a safety knife, taking care not to damage your bath. Specialty silicone removers can also be used to soften and lift the old sealant, making it easier to scrape away.
Step 2 - Tape off the edges
Next, create a guideline for your sealant with masking tape. This will allow you to apply the sealant evenly without it ending up on the tiles or bath itself. Place the tape around the edge of your bath, keeping a 3mm distance from the wall. This ensures a neat and precise application of the silicone sealant.
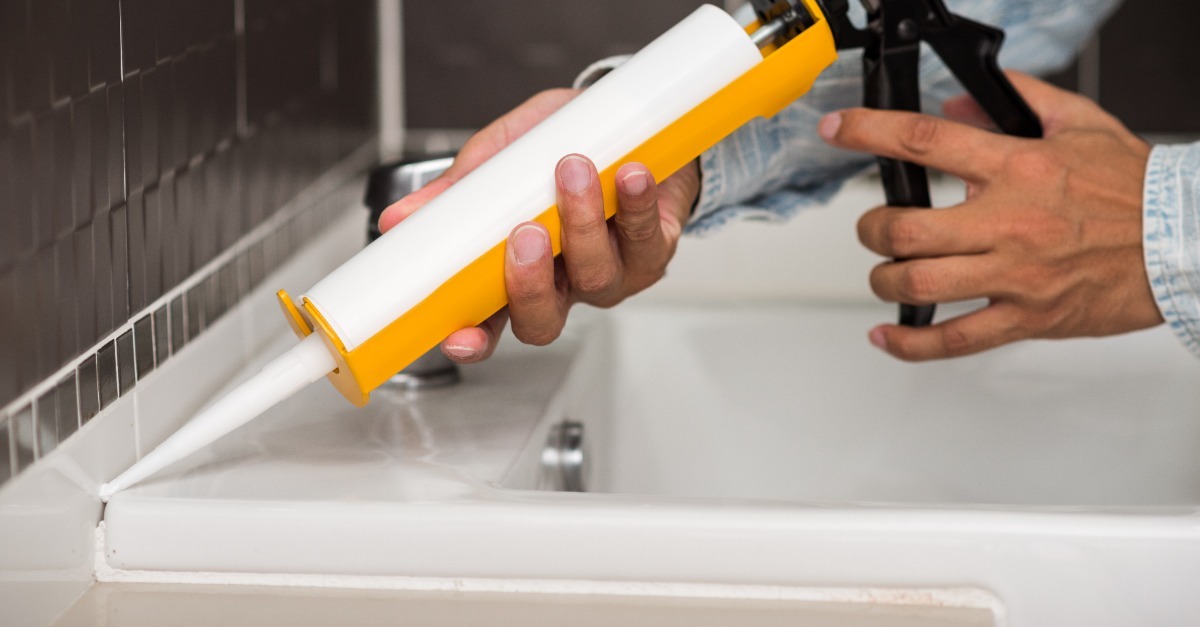
Step 3 - Prepare the sealant
With your safety gear on, cut the silicone sealant tube with a safety knife, angling the tip at 45 degrees for easy application. Load the tube into the caulking gun, priming it for use.
Step 4 - Apply the sealant
Position yourself as close to the edge of the bath that needs sealing, then gently squeeze the caulking gun trigger, applying even pressure as you go. Start from the farthest corner in a fluid motion, maintaining a steady hand just as you did with the tape. It's advisable to work in a counterclockwise direction from the top to avoid disturbing the fresh silicone. For instance, if your tub is enclosed by three walls, begin at the 'top' and move in a C-shaped manner. If feasible, apply silicone to both the base and the wall.
Step 5 - Smooth the sealant
To achieve a smooth and water-resistant seal, use a sealant applicator or a wet tool like a wooden spoon or even a wet fingertip to shape the sealant edge at an angle.
This step is crucial to prevent dirt, germs, or mould from getting behind the sealant. Since sealant may take up to 24 hours to set, ensure your bathroom (or at least the bath) is off-limits during this time!
FAQ
Do I have to remove old bath sealant?
Yes, old silicone sealant must be removed before applying a new one to ensure proper adhesion and longevity of the new sealant. Sealing over old sealant will only result in a weak and easily damaged seal.
How do I remove silicone from my hands and tools?
To remove silicone from your hands and tools, you can use a specialised silicone remover or rubbing alcohol. Soak the affected area in either solution for a few minutes before wiping it off with a cloth or paper towel. Repeat if necessary until all the silicone is removed. It's important to clean your hands and tools immediately after using silicone sealant, as it can be difficult to get off once the sealant dries.
If it hasn't fully dried yet, then it can be washed off with warm soapy water.
What if there's a large gap between my bath and the wall?
For larger gaps, it’s advisable to re-seat your bath closer to the wall if possible. Alternatively, use a backer rod to fill the gap, then apply sealant over it for a smooth, sealed edge. If unsure, consult with a sealant specialist for the best approach.
Do I have to use a silicone sealant for my bathroom?
It’s important to use a silicone-based bathroom sealant, as these are specifically designed to resist water and mould, ensuring a long-lasting seal.
How often should I reseal my bath?
Inspect the sealant annually and consider re-applying every 1-2 years, or sooner if you notice cracks or mould.
How do I get rid of excess sealant when applying?
If you have any excess sealant after finishing the application process, it’s best to remove it immediately before it dries and becomes difficult to remove. Use a damp cloth or paper towel to carefully wipe away any extra sealant. You can also use a special silicone remover for an easier and more thorough clean-up. Remember to dispose of any removed sealant safely and according.
Conclusion
Sealing a bath is a straightforward task when you know the right steps to follow. Not only does it keep your bathroom looking pristine, but it also plays a crucial role in preventing expensive water damage. By following this guide, you can achieve a professional-grade seal, ensuring your bath remains a relaxing and damage-free sanctuary.
For those looking for a professional sealing service, don't hesitate to get in touch with Gould Silicone Sealants. Our team of experts is on hand to take the job out of your hands with our high-quality, fast and minimally disruptive sealant services alongside our huge range of sealants.
Share this post: